How to Make a Webtoon & What Webtoon Will Not Tell You
How to make a Webtoon. In this article you will learn the basics of creating and uploading a webcomic to the popular site, webtoon.com. The quick guide below covers the basic steps to make a Webtoon. Or, for a more extensive explanation, read the detailed guide. You will learn tips for choosing your tools, making your account, and making your episodes.
Additionally, find out what Webtoon will not tell you. There is a bit of advice Webtoon is holding back. So continue reading to learn some realities about Webtoon. As well, discover some tips to make yours succeed.
Overview of topics:
Quick Guide to Making a Webtoon
Below is a quick overview of how to make a Webtoon. You can use it like a checklist to make sure you have completed each step. Or, you can skip ahead for a more detailed guide if you prefer.
How to Make a Webtoon
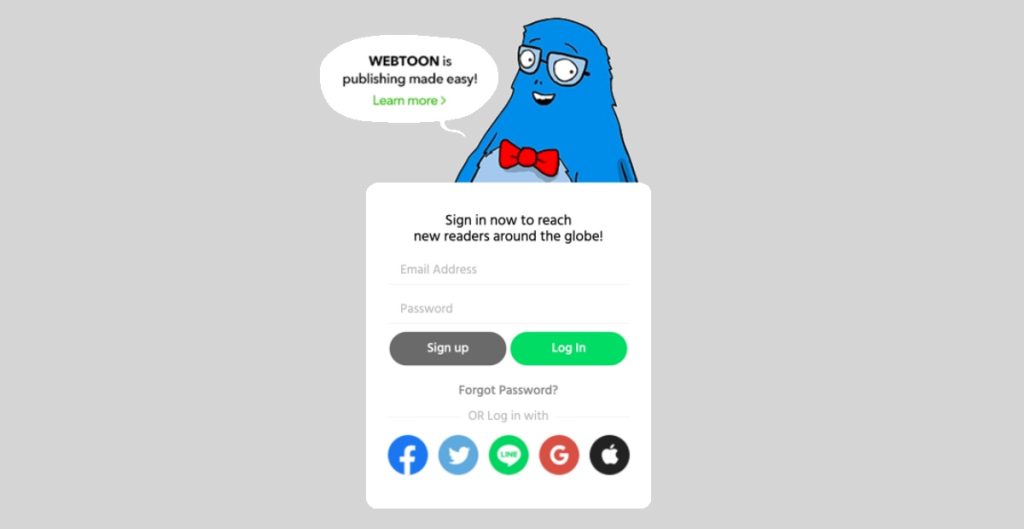
- Make an account or log in.
Signup for a Webtoon acount. It will not take too long, just enter in your info.
Or login into an existing Webtoon account. You can use an existing Webtoon, Facebook, Twitter, Line, Google, or Apple account to log in. - Get some detailed advice about making a webcomic.
Before you make your webtoon, read this article: How Do You Make a Webcomic – A Comprehensive Guide
- Pick your genres.
You can choose one or two genres that suit your comic. For example, drama, fantasy, comedy, action, slice of life, romance, superhero, sci-fi, thriller, or supernatural.
- Decide on a name for your comic.
Try to pick something unique, but memorable.
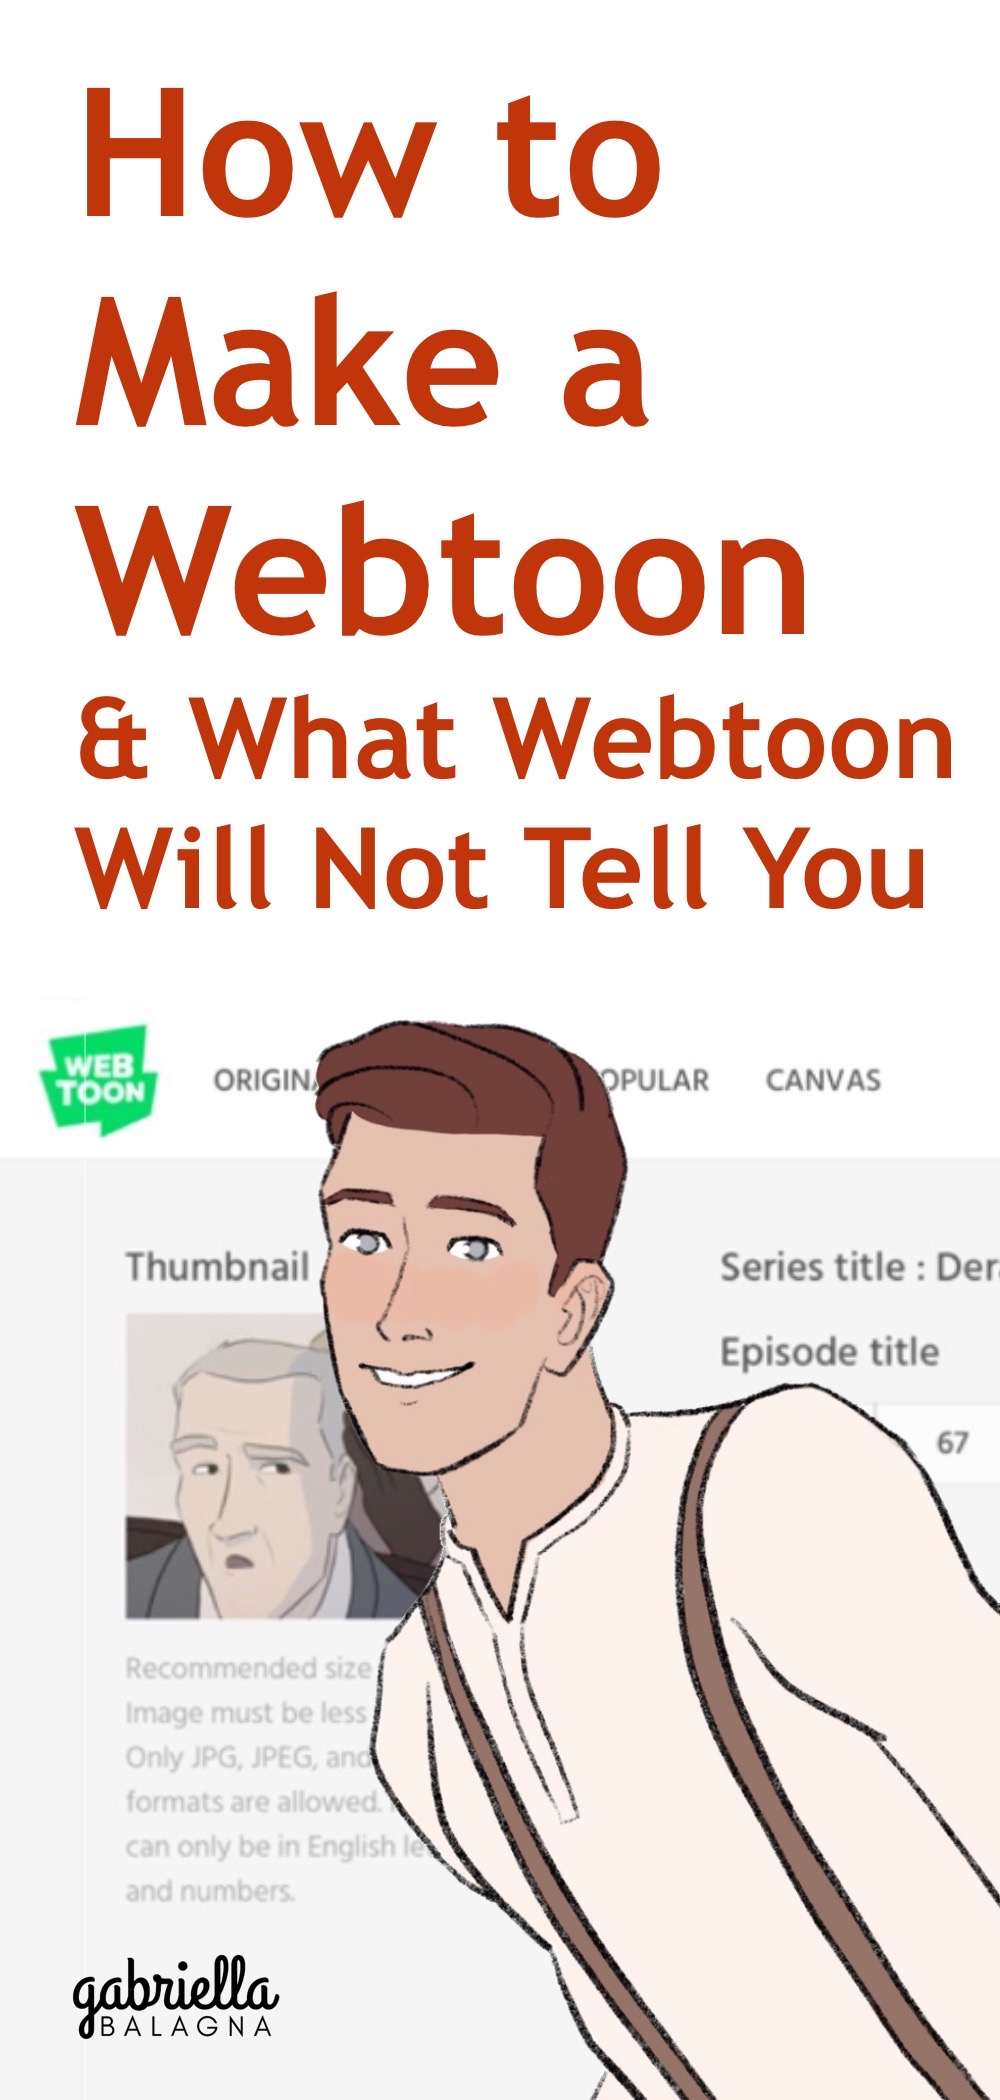
- Create a thumbnail for your series.
This image is like the cover or preview of your series. So be sure to make it high quality. It will be what attracts people to click on your comic and read it. It is recommended to draw a closeup of one or two of your characters for the thumbnail.
Your square thumbnail should be 1080 x 1080 px. And the new vertical thumbnail feature requires an image 1080 x 1920 px. - Come up with a summary.
Describe your series with a few short sentences. Try to hook potential readers to come check out your series.
- Upload the files for your first episode.
You can upload a thumbnail, episode title, comic files, and write a creator’s note. Previously, comic files had to be 800 x 1280 px or smaller. But now the site can automatically splice and compress images that are too big. The maximum upload size is 20MB total.
- Save, schedule, or publish your episode.
Hit “save draft,” and your episode will be saved to your dashboard.
Or select “schedule for later,” and choose a date for your episode to go live.
Or select “immediately,” and hit “publish” to publish now. - Read the detailed guide on making a Webtoon & find out what Webtoon will not tell you.
Find out more details on making a great Webtoon by reading the rest of this article.
Detailed Guide to Making a Webtoon
Next, here is some detailed advice to help you create your Webtoon. You will learn helpful tips on choosing your tools, making your account, and making your episodes.
Choosing Your Tools for Uploading
To make a Webtoon, you will need some tools. Firstly, you will need a device to upload the image files. Most commonly, people use a laptop or computer to do this. This is the recommended method.
If necessary, you can upload to Webtoon from a tablet or smartphone too. But, you cannot publish using the app. Similarly, you cannot use the mobile version of the site either, as the publish button is missing. Also, uploading from a mobile device may potentially lower the image quality of your files, so it is not recommended.
However, here is an example of how to upload to Webtoon on a mobile device:
- On a mobile device, go to your settings app.
- Find the settings for Safari and turn on “request desktop website.”
- Go to the Safari app and type in “webtoons.com.”
- Now you will see the publish button and can use that to upload your Webtoon from your mobile device.
Choosing Your Tools for Drawing
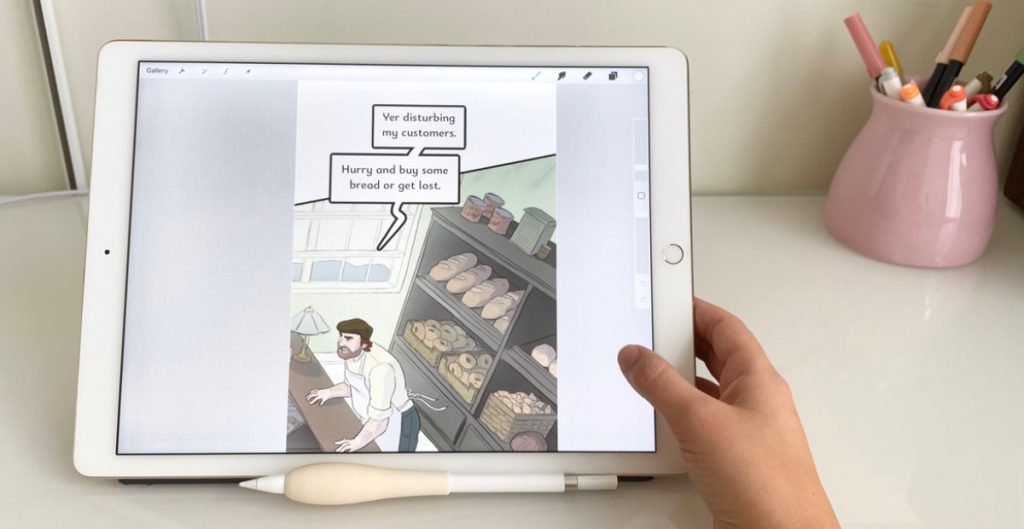
Additionally, you will need to choose your tools for drawing your Webtoon. To make a comic digitally, you can use a tablet, smartphone, or computer. Some example drawing tablets are:
- iPad Pro 12.9″
- Wacom Cintiq 16
- One by Wacom
- Microsoft Surface Pro 7
- #affiliate links
You will also need some sort of digital drawing program. What you use will vary depending on your device. Some common softwares and apps used are:
- Adobe Photoshop
- Clip Studio Paint
- Sai Paint Tool
- Procreate
Contrarily, you may want to draw your Webtoon with less use of electronic devices. Nonetheless, you will still need a camera or scanner to digitize the art. Additionally, you will need an electronic device to upload the comic online.
But for the drawing portion, you can still do that traditionally. Just draw your comic on paper with your favorite supplies. Make sure you use a dark pencil, pen, or maker so that your drawings will have enough contrast when uploaded. Likewise, make sure to use large, neat handwriting for the text. Alternatively, you can add the text later digitally.
That sums up choosing your tools. Now, you are ready for the next step of the process.
Making Your Account
The next step in making a Webtoon is setting up an account. You can log in with an existing account or create a new one. Here are a few tips for picking a username. Firstly, you can use a pen name or your real name as your username. Use whatever you want your fans to know you as. Secondly, choose a username name that is memorable and preferably not too long. Thirdly, try to use the same username across the internet, so people can find you more easily on other platforms, like social media. Furthermore, if needed, you can change your username later by going to “account,” then, “nickname.”
Now, you are ready to create a new series. (You must do this from a desktop or desktop version of the site, not the app.) Go to your dashboard and hit “create series.” Then, fill out all the details for your new series. You can edit these details later if needed. So next, hit “create series.”
It is a good idea to get feedback on things like your series’ title, genres, summary, and thumbnail. This is because these are the main things that will attract or turn off readers. So ask a family member, friend, or fellow comic artists online for feedback. Also, make sure your series’ name is catchy and memorable. Likewise, make sure there are no spelling errors in your summary, as this can look unprofessional. Check out my Webtoon’s about page for an example.
That is how you set up your account. Continue reading below to learn about making your episodes.
Making Your Episodes – Uploading
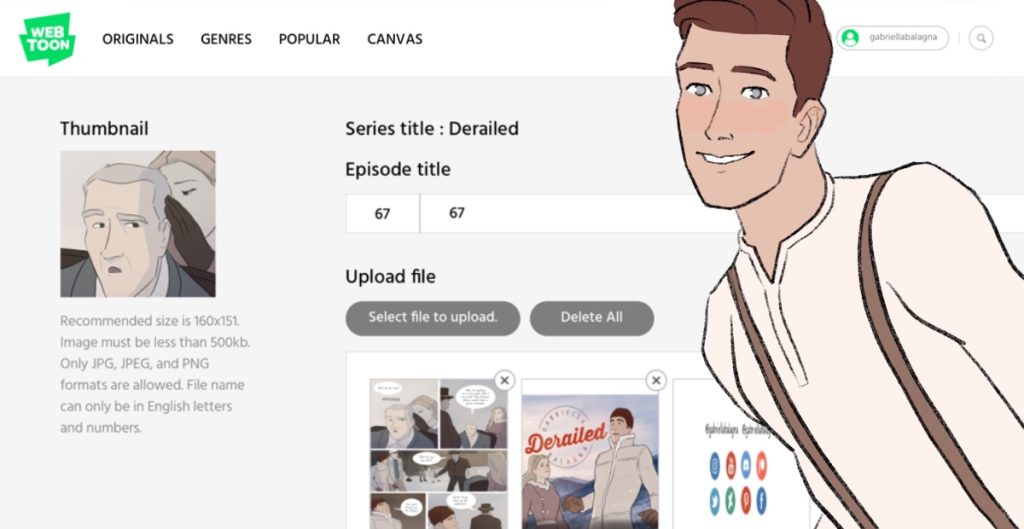
The next step of making a Webtoon is creating your episodes. Go into your dashboard and hit “add episode.” It is recommended to upload files to all of the input fields for an episode. These are: episode title, thumbnail, and files. Here are some notes on each of those things:
Episode title: Use an enticing title that gets people to open your episode or simply number your episodes chronologically.
Thumbnail: This should be 160 x 151 px and under 500 kb. It can be JPG, JPEG, or PNG. Try to choose a closeup shot for your thumbnails, as they will be displayed pretty small. A cropped panel showing one character’s face usually makes for a good thumbnail. Also,yYour thumbnail should be thoughtfully chosen. If it seems interesting, more people will be likely to click it and read your episode.
Upload files: It is recommended to upload files that are 800 x 1280 px. If your images are larger than this, they may get sliced, reduced image quality, shrunken, etc. So, try to save your files in the recommended dimensions. Or, try this commonly used cropping tool called, Croppy. Also, it should be noted, you can upload a maximum of 20 mb or 100 images per episode. Additionally, note that you can only upload JPG, JPEG, or PNG file types.

Making Your Episodes – More Features
There are even more settings to play with when publishing an episode. Here are some tips on those things:
Preview: Before publishing, use the previewer to test out that your files uploaded correctly. Also, the previewer will let you get a feel of how your comic will display on desktop and mobile devices.
Creator’s note: These notes show up at the bottom of episodes. They must be 400 characters or less. This is an optional field, but it is recommended to always fill it out. Creator’s notes are a great way for the audience to connect with the creator of a comic. Additionally, they are a great spot to put announcements or ask for feedback.
Save: You can save an episode, schedule it for later, or publish it immediately. However, before publishing, it is recommended to create a buffer of episodes. This way, even if you get busy, you will still have content to upload. Official Webtoon series upload weekly. However, unpaid creators are free to upload whatever frequency they choose. Just be transparent with your fans. Let them know how often you plan to update. To decide if you need a buffer, read: Do You Need a Comic Buffer? 9 Steps to Help You Decide
So, that is how you make your episodes. Next, find out some tips to take your Webtoon to the next level.
What Webtoon Will Not Tell You
Making Money
Webtoon shares three ways for creators to make money on its platform. These are, ad revenue, rewards, and Patreon. However, there are some things Webtoon does not tell you about monetization. Namely, making money on their platform is not as easy as it seems.
For example, to utilize the ad revenue feature, there are some steep requirements. A series must hit both 1,000 subscribers and 40,000 monthly views. Those are large numbers. Additionally, a creator currently only gets to keep 50% of the profits from the ads on their series.
Furthermore, Original series receive monthly compensation. But it is very hard to become an Original series. To do so, you must act the part, and put out top quality content. Also, be sure to follow Webtoon’s guidelines. But, even if you follow all of Webtoon’s recommendations and advice, this does not guarantee becoming an Original. You cannot apply to become one either. An editor must offer you the chance. Even then, being an Original series is very demanding and does not pay much.
So, can you make money on Webtoon? Yes, but it is not as easy or profitable as they make it seem.
Getting that Webtoon Fame
You put in blood, sweat, and tears to make an amazing webcomic. Then, you upload it to Webtoon. Now you just have to kick back and watch your comic grow. Just kidding...
What Webtoon does not tell you is just how much work it takes for a Canvas series to even get views. For a new person to find your comic on the site or app there are a lot of things that must happen. First, you upload a new episode. Then, a reader must go the Canvas page. Next, they must choose “all” or another genre. This shows recently updated comics in that genre. Next, they must scroll through all the recently updated comics and potentially find yours. Then, they must click your series’ thumbnail. Finally, they must choose an episode to read.
But since there are lots of people uploading episodes, your comic does not even stay in the recently updated list very long. So the episode that you spent hours or days drawing only has a small potential for exposure through the site. Sure, you could get featured in the recommended, weekly hot, or popular categories, but there is high competition for those slots.
So, you probably cannot rely on people to find your comic solely through Webtoon. Instead, you will probably have to promote your Webtoon…
- on social media
- through word of mouth
- through forums
- by interacting with people in your target audience
- by collaborating with fellow creators
Doing those things takes a lot of extra time and effort. That is why getting fame and popularity on Webtoon can be a struggle.
Additionally, Canvas series must compete against Original series, which have things a bit easier. Originals get paid each month. Also, they get people to help with editing, marketing, and public relations. So getting popular is a bit harder for Canvas series.
What You Should Do Instead
Here is another thing Webtoon will not tell you. That is, Webtoon may not be the perfect fit for you. Or, it may not be the only fit for you. Or, it may not be the right fit for you at this time. So, here are some things you may want to do additionally or instead.
Firstly, you may be in a stage where you need to work on improving your craft. Making a webcomic is hard. You may not be ready to make one yet. If so, read this article: Actual Ways to Improve Your Art – Methods & Challenges that Work.
Also, you might want to publish elsewhere. There are many competitor sites for webcomics. As well, there are other mediums for making comics. Find out your other options in this article: Where to Find Webcomics – the Best Places to Read & Publish Comics
Moreover, you may want to to have your own website. This will give you full creative freedom over your webcomic. Also, it will give you access to a bigger audience, beyond just Webtoon users. Learn more reasons you may want a website for your comic here: Do Artists Need a Website? The Best Places to Publish Art
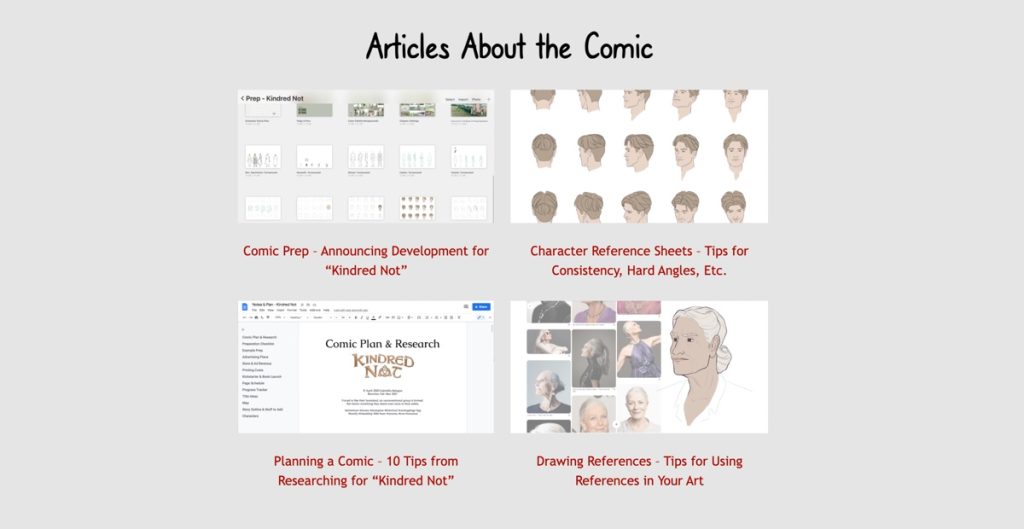
Personally, I do not just rely on Webtoon. For example, one way I get more views on my comics is by writing articles. As shown below, I write helpful comic articles, which in turn help promote my upcoming comic.
How to Make a Webtoon Summary
I hope you enjoyed learning about how to make a Webtoon and some tips Webtoon likes to keep on the hush. Now you are ready to make your webcomic. So, get some detailed advice about that here: How Do You Make a Webcomic – A Comprehensive Guide.
Also, let’s help each other grow. Write a comment below on your best tip for making a Webtoon. And share this article with someone who needs some help creating their Webtoon.
For more helpful drawing and comic-making advice you can subscribe to this site. Also, be sure to read my comic, Kindred Not.
Discussion (4) ¬
Impressive posts! My blog FQ7 about Thai-Massage also has a lot of exclusive content I created myself, I am sure you won’t leave empty-handed if you drop by my page.